

Employee Viewer API - Node, Express, Mongo - Part 1
create, read, update or delete employees using this API


Introduction
I will be building a very simple REST API for my React Native App - Employee Viewer. I will show the basics of creating the API. Because this API is not going to be too complex for now. We will add functionalities as the React Native App progresses.
Table Of Contents
- Setup of the REST API
- Adding Routes
- Adding Models
- Adding Controllers
- Testing using Postman
- Deploying REST API
Setup of the REST API
Before we go into creating the API we require the proper dependencies. Firstly, make a folder in your desired location named employee-viewer-restapi inside that folder open your command-prompt or terminal. We need to initialize the package.json.
npm init --yes
once you execute the above command you will see that a file named package.json is created. This file basically holds all information about the app. You can change the author or keywords according to your needs. Next we need to install the dependencies.
npm install express mongoose cors
After you install these packages, we will also need dev-dependencies which are basically used for development purposes.
npm install morgan nodemon --save-dev
--save-dev is the key that tells the npm that we are going to install dev-dependencies
morgan is a package that will provide the request details made, it logs each request in the CLI. You will be able to see some information about the request.
nodemon is a package that allows you to develop the express api efficiently. When we make changes to the files the server is restarted every time there is a change in the files.
Adding Scripts
We will add 2 scripts to the package.json. You will see a field named as scripts in the file. Inside that add
"scripts": {
    "dev": "node index.js",
    "start": "nodemon index.js"
  },
Adding the entry point file
Create a new file index.js in the root of the directory and add the following in that file
const express = require("express");
const cors = require("cors");
const morgan = require("morgan");
const app = express();

app.use(cors());
app.use(morgan("dev"));
app.use(express.json());

app.get("/", (req, res) => {
  res.status(200).json({
    message: "API is Working",
  });
});

app.listen(9000, () => {
  console.log("Express App Running http://localhost:9000");
});
Once you completed the above step, save the file and navigate to your terminal or command prompt, I am using the integrated terminal in VScode. Be sure you are in the root of your project folder. Then run the start command.
npm run start
this will start the nodemon and keep the server updated even when we save the app. It has the functionality to reload the server with the new changes.
I will be using Postman. If you do not have an account, then you can create an account and then create a collection named as employee-viewer-rest-api.
Inside that collection create a new request named as Test Route.
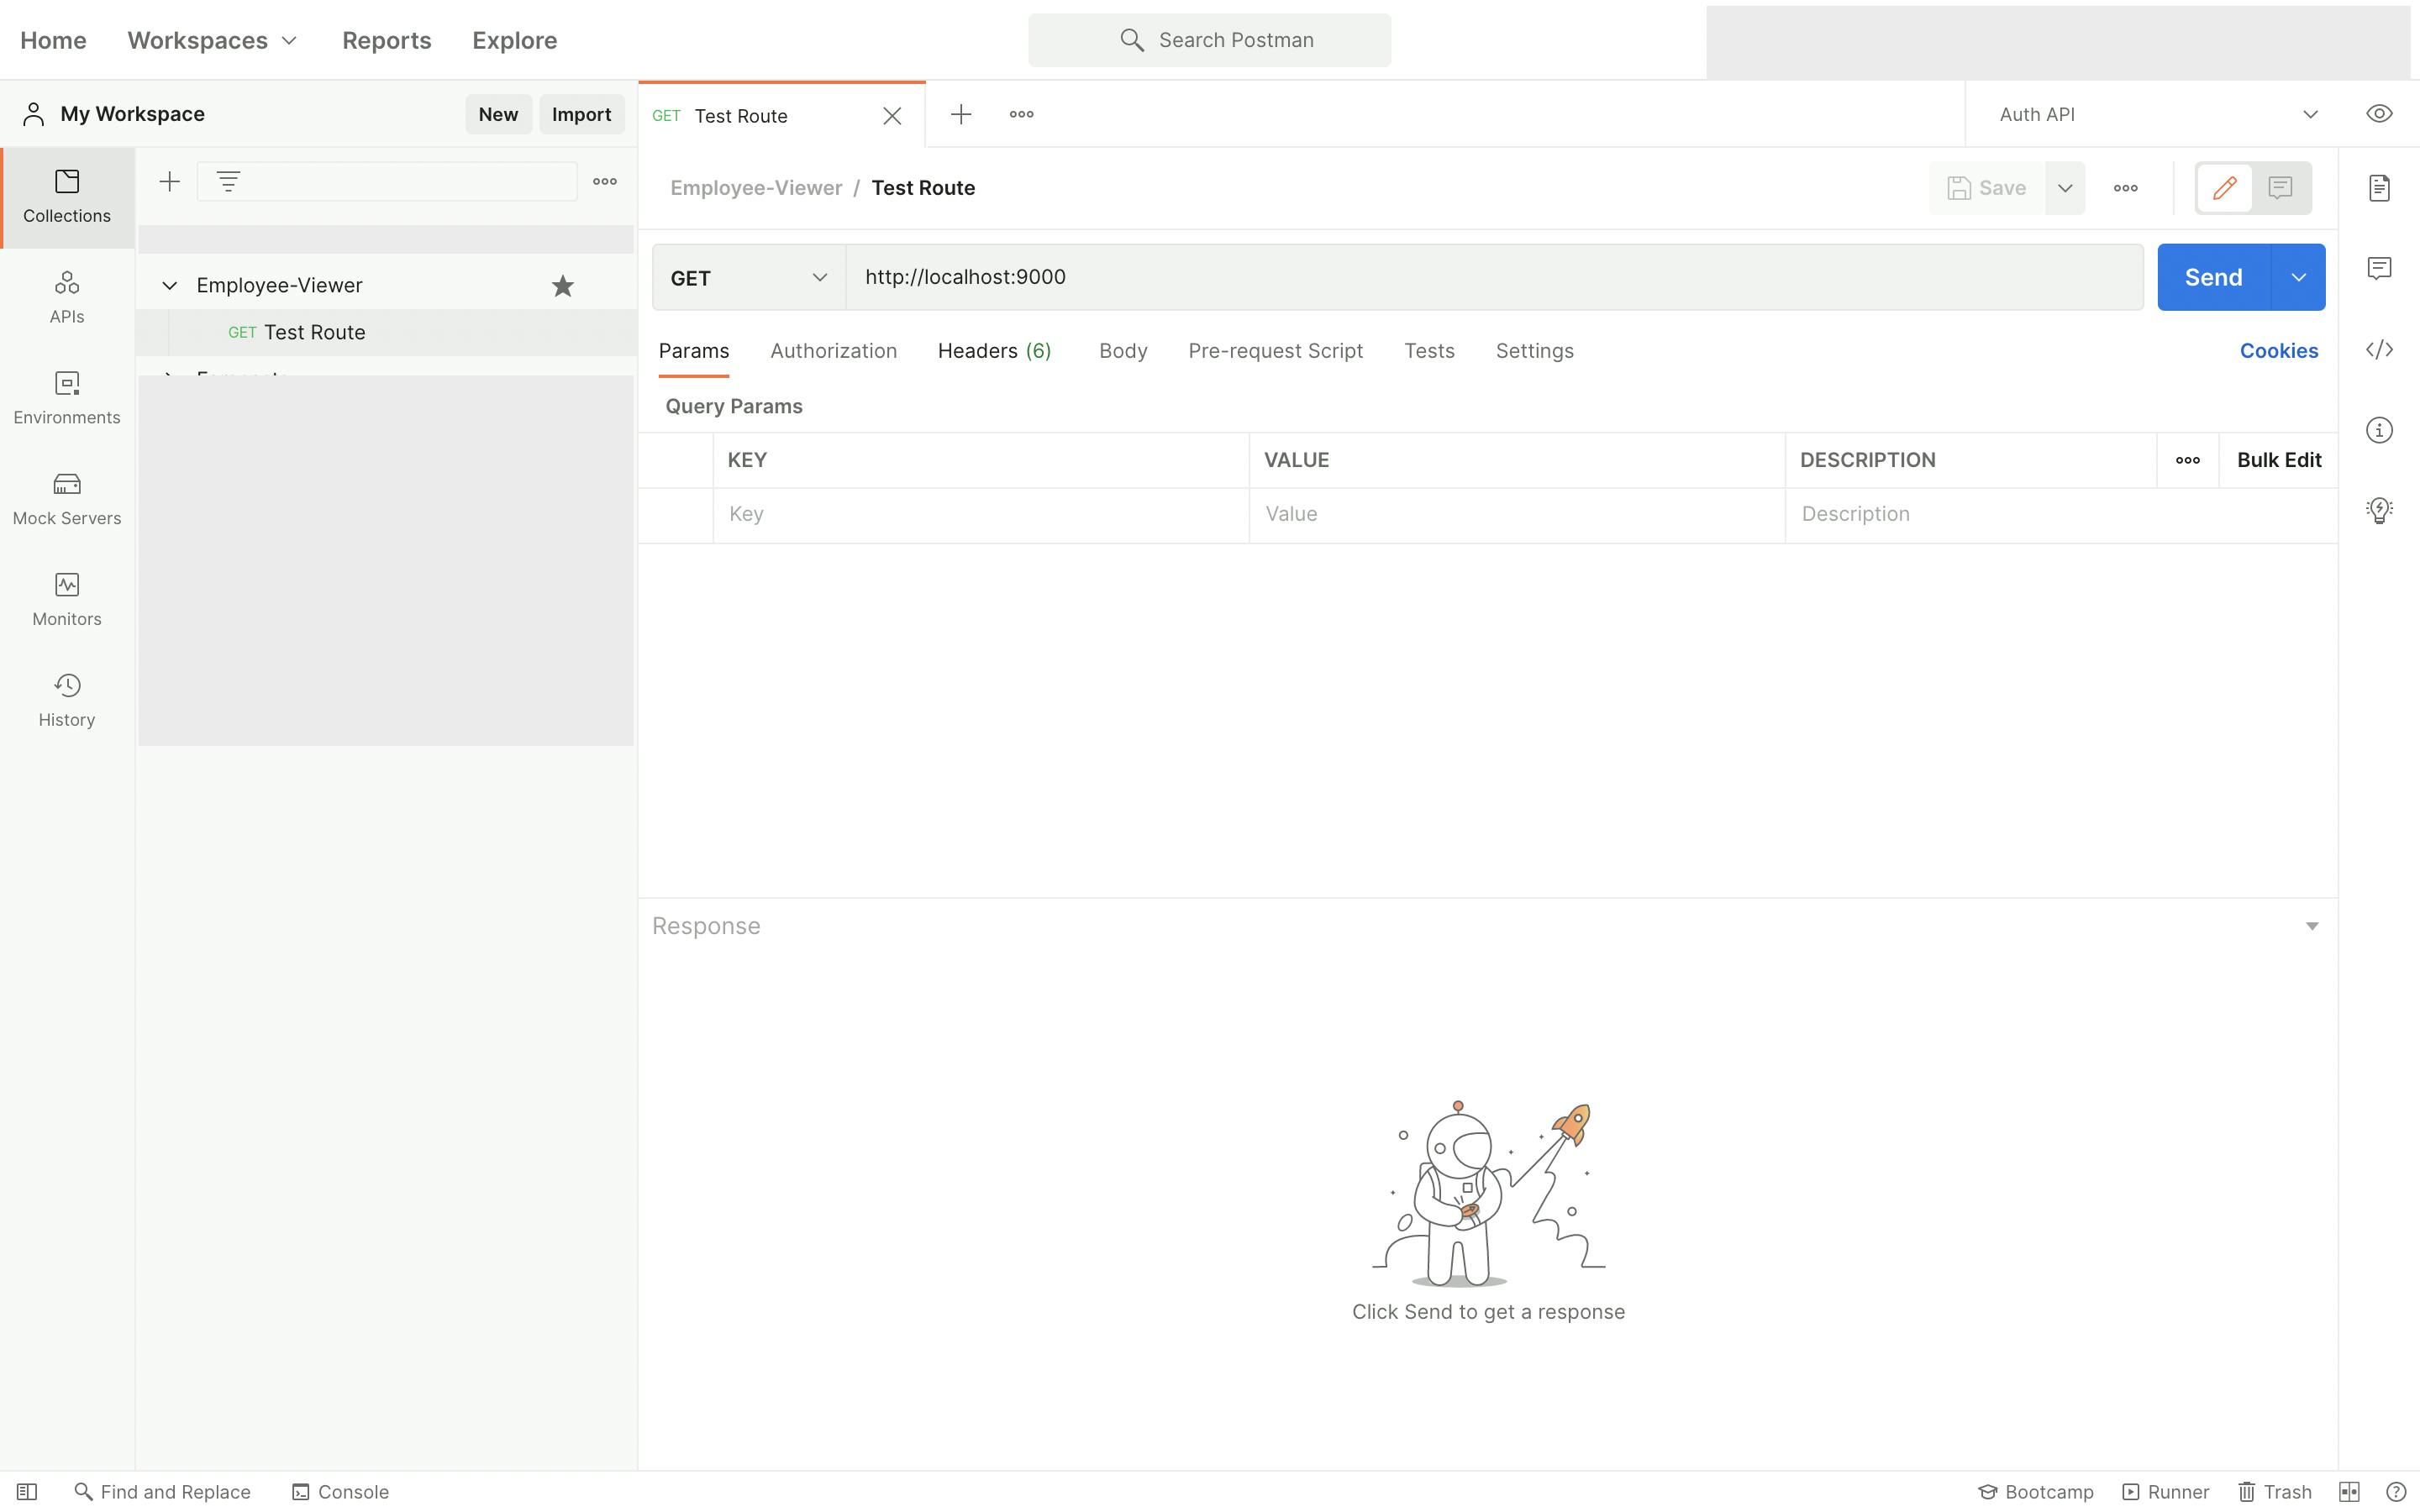
When you click Send you will get a message like below
{
    "message": "API is Working"
}
Yes 👍 Our API is working properly. Now it's time to design the API and figure out what api endpoints we need.
API Endpoints
We will need to create,read,update and delete information about the employees. We also need to add the authentication where only authenticated employees can edit, delete and create. We will get to authentication later.
GET Requests - Public Visibility
- GET - All Employees - /all
- GET - Single Employee(by ID) - /all/:id
POST Requests
- POST - Create Single Employee - Private Visibility - /create
PUT Requests - Private Visibility
- PUT - Edit Single Employee(by ID) - /edit/:id
DELETE Requests - Private Visibility
- DELETE - Delete Single Employee(by ID) - /delete/:id
These routes are very basic, we can add more when needed. Next we will look at the Models.
Employee Model
Below is the image of the fields in the Employee Model. Model is basically a template of the type of data the API will send or retrieve.
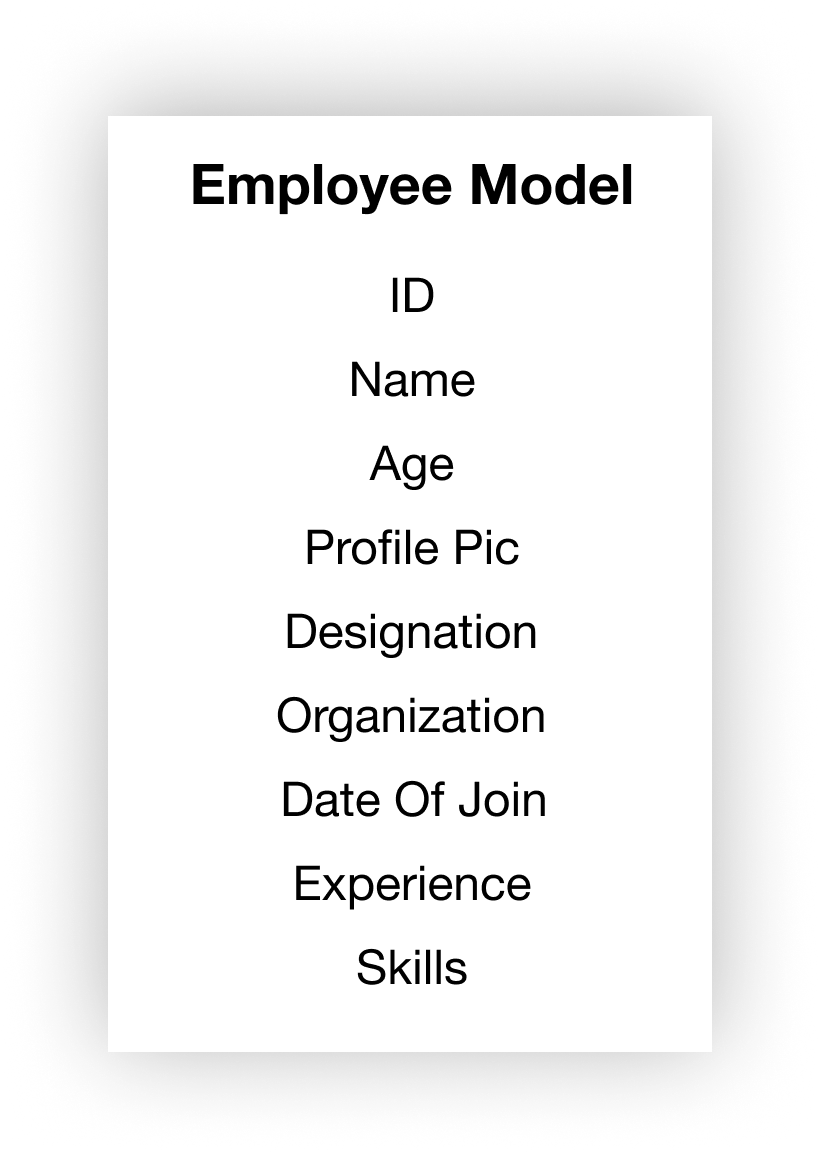
Here we see:
- ID - this will be a unique identifier which is autogenerated
- Name - the employee name which will be a String
- Age - the employee age which will be a number
- Profile Pic - this will be a profile pic url which we will return it will be a String
- Designation - the employee designation which will be a String
- Organization - the name of the organization, the employee works in String
- Date Of Join - the date the employee Joined the organization in String
- Experience - the total months or years of experience as a Number in Months
- Skills - multiple skills the employee has in, List of Strings
Now that we have both the Route and the Model decided we can create the files needed, which we will see in the next part.