

Develop a Simple React Native App - Part 1
I am a Full stack developer who is obsessed with React, I like to explore cloud technologies like AWS and use the services to create various apps as hobby projects.
Introduction
In the past few weeks I have been preparing content to write about this topic and creating content for a very simple app using react native. Recently I wrote a very small post you can check that here, which is very short and concise. I wanted to create a super detailed post that looks into building app from scratch to build and deploy stage.
Below is the TOC on what I am going to cover.
Table Of Contents
NOTE: I am not a professional in creating apps I just want to share my knowledge on what I learnt by going through tutorials and reading blogs. If I am doing anything wrong, please let me know.
Part 1
- Introduction
- Setup an App and Install Dependencies.
- What We Are Going To Build - App Functionality
- Setup Styles - Tailwind CSS
Part 2
- Navigation
- Components
- Simple Authentication - Login and Signup - Real API
- Build Various Screens Using Components
Part 3
- Complex Form - Multi Step, Image Upload Using AWS S3
- Backend API Examples ( Postman - Optional Or As External Link )
- Wire Up Backend into Form
- Test With Various Phones - iOS and Android
- Build And Deploy App
- Conclusion
Introduction
React Native apps can be setup using react-native-cli or expo-cli. In this article we will be focusing on the expo-cli. We will take a deep look at what functionalities the CLI gives us and how it improves our development process. I will be building a Employee Viewer App, I know its not a really great idea for an app. I have picked this app in general because firstly, Todo List app really is too simple to learn. Secondly, it will be good for showing image upload and authentication process. I want to explore every functionality the React Native library gives us.
To refer any React Native concept you can see this website https://www.reactnative.express/ its really amazing, perfect for brushing up concepts that you already used. If you want to learn by coding side by side, it contains a perfect example to learn the concepts clearly. I really appreciate the author of this website that has developed this and made it easy for many new developers to learn much efficiently.
The app we are going to build is similar to the todo list app because instead of creating todos, we will CRUD employees. But the main thing here is that only employees that are tagged as admin can create, edit or delete other employees.
So this adds a bit of complexity to the app, where we need to manage authenticated routes. We will also add a image upload functionality where we can add the profile image for the employee. I already have the express API ready for the app, so all we need to do is design the app and at last just connect the app to backend. I want to focus more on Authentication, Styling and Navigation on this article as these are the main crux of the app. I will share the Postman docs for the API later in the article.
I will not be using any component library, I will be using the tailwind-rn package to just give some extra look to the components React Native gives us. I not going to experiment with any new packages other than this one.
Now let's go to next section where we will install and setup the app.
Setup
Install Expo CLI globally
npm install -g expo-cli
After installation type
expo --version
you will get a version like 4.7.3 or anything higher based on your time of installation.
After this navigate to a folder in your computer where you want to create this app. Inside that folder open your command prompt or terminal. Run the below command:
expo init
you will get a list of prompts in the CLI
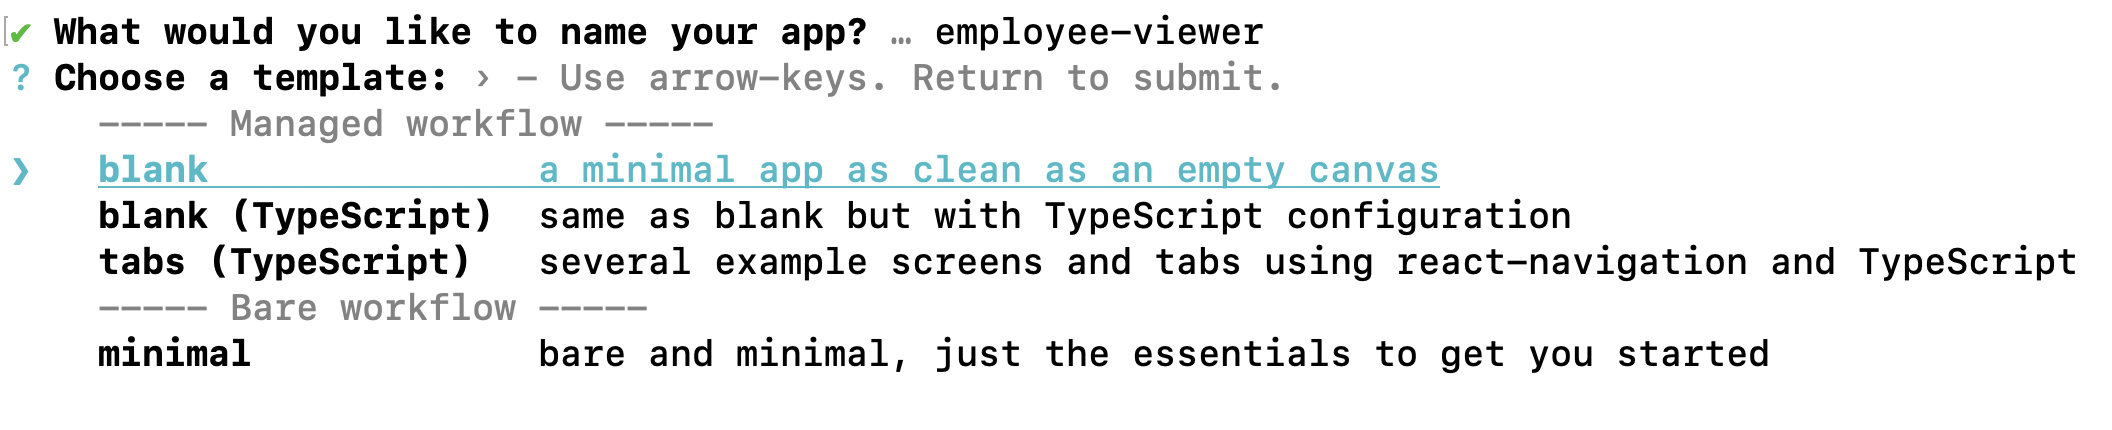
you can enter the name of the app you want to keep. There are a list of templates that we can choose from, normally for beginners it is recommended to choose blank( Typescript ) or blank . I am choosing the blank from the Managed Workflow. The managed workflow will let expo take care of a lot of things. But in bare workflow, you can take more control of the workflow, its recommended for more advanced users who would eject the app into Android or iOS apps.
Once you enter those details as above, the expo-cli will install all the needed dependencies.
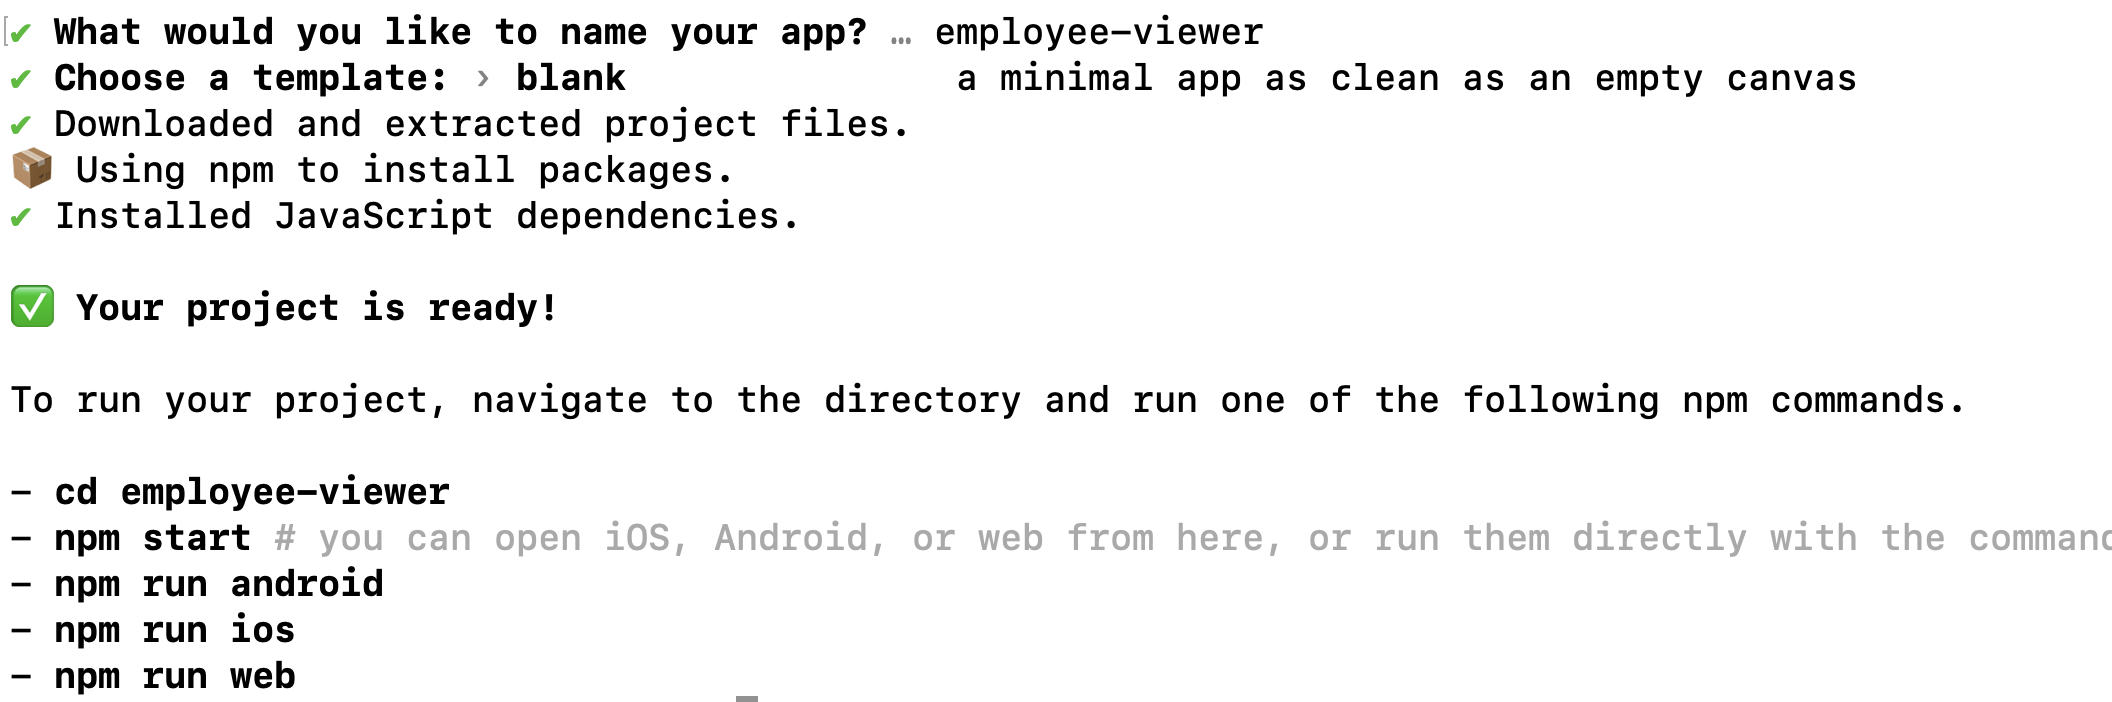
Once you get a message that your project is ready, you can open your project in your favorite IDE. I use vs-code as my preferred IDE, you can use any of the IDE's out there.
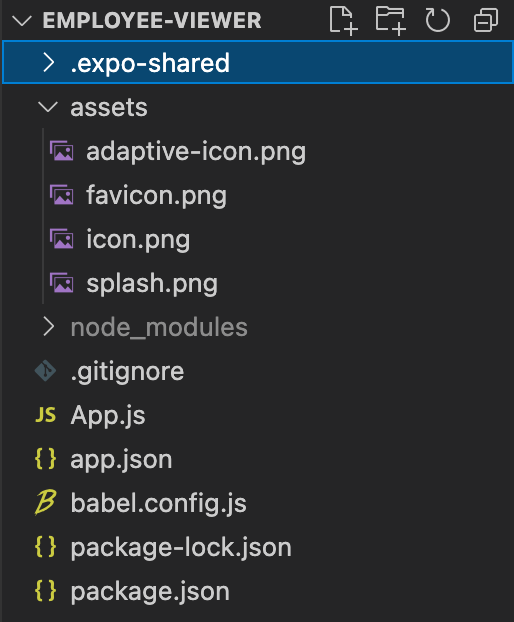
If you open your project your folder structure should be like below:
Running the app
In order to run the app in Android devices you need Android Studio and the emulator that comes with that application. If you want to develop for iOS devices, you exclusively need a Macbook with Xcode, without those tools its not possible to build and publish the apps for the App Store.
Currently Android doesn't fully support the emulator for Macbook with M1 chip. If you interested in trying out the beta version. You can go here to the medium blog where he explains the process.
In Windows, you can use the android emulator. I am going to use my physical device as I own a android phone. For anyone who doesn't own a physical or virtual android device. You can opt to sign up with https://www.lambdatest.com/. This company is perfectly what you need if you dont own any android based devices, as here you can just upload the build and then view in various devices.
They have a free version where you can test on very few android devices. They also have iOS devices that you can test on. I have always used this product as part of my professional and personal tool to test various devices. You can integrate Jira or any other tool so that QA team can test and post a JIRA ticket for that issue.
If anyone has a Macbook that has an Intel chip your development should be smooth as butter. As you can run both Android and iOS emulators.
Now navigate to your project and open the integrated terminal or external terminal based on your preference and type.
expo start
once you execute the above command, the expo-cli will run and open the dev tools in your web browser. It will look like something below:

You can also take a look at your terminal and it will also the same information shown above. The CLI will give you options to open your app in various platforms. Before running the emulators make sure you have the device image installed. Otherwise it will face issues in finding out the device to run on.
Below is the image of the terminal when you choose the option to open the iOS simulator.
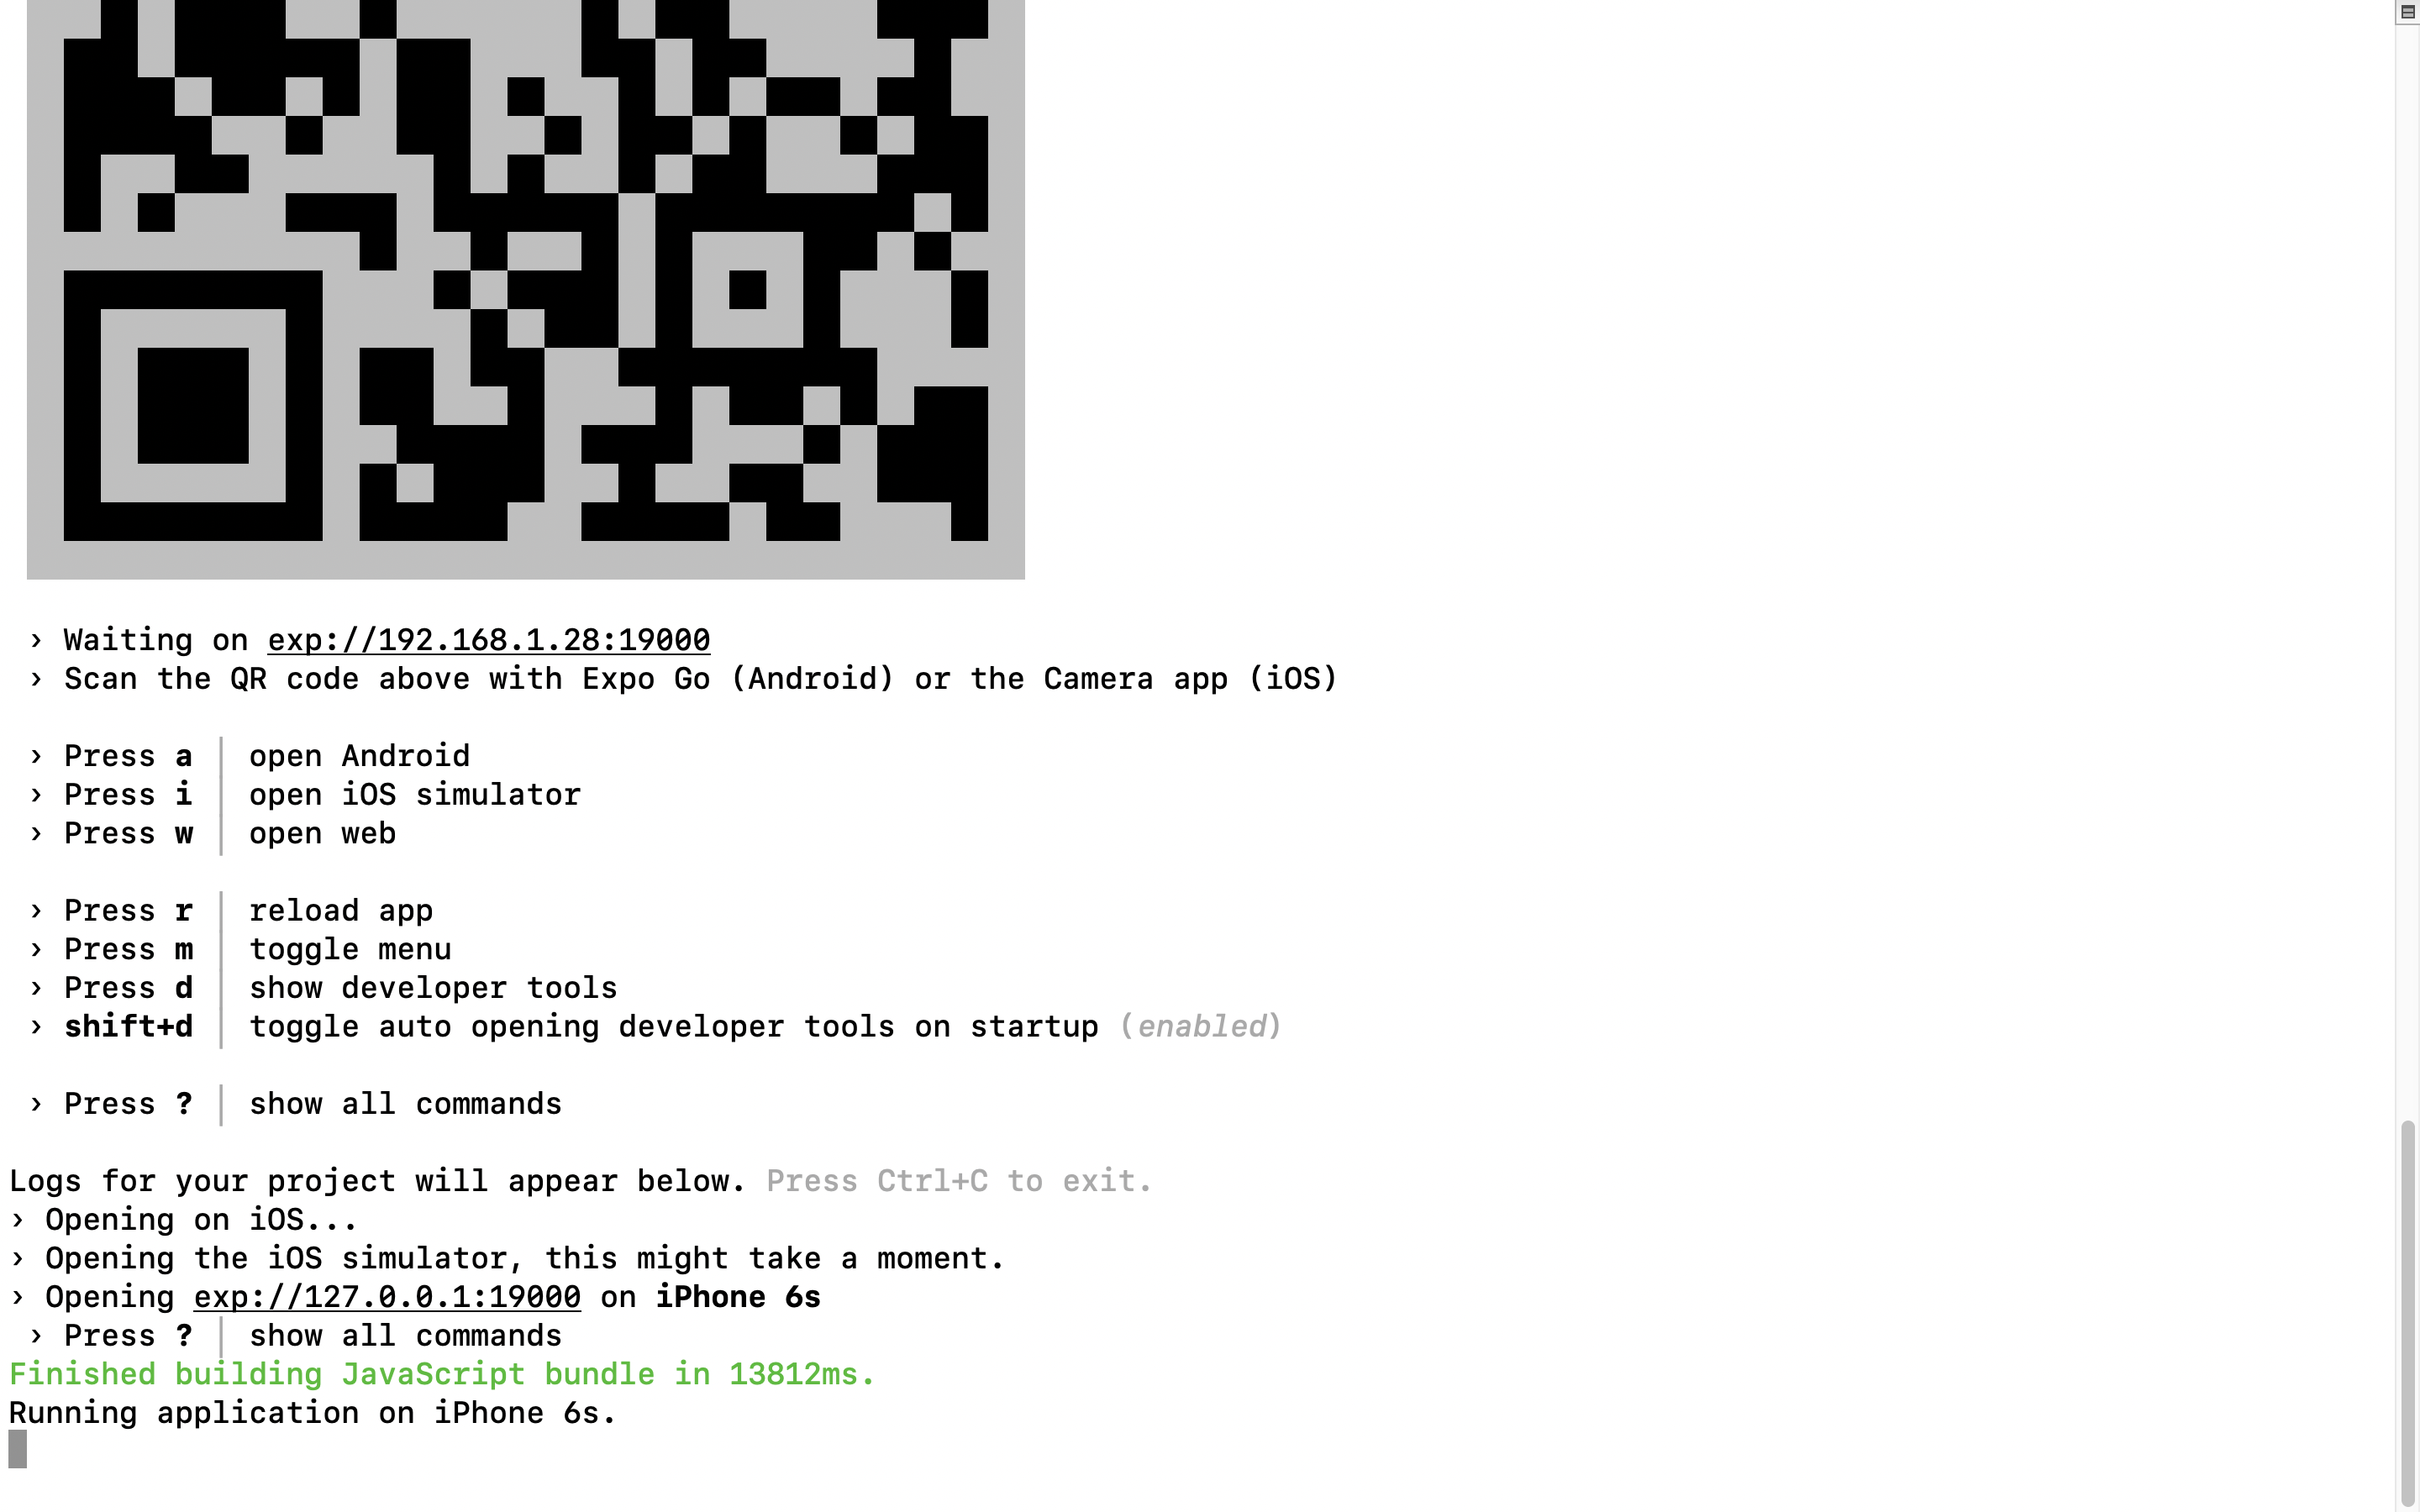
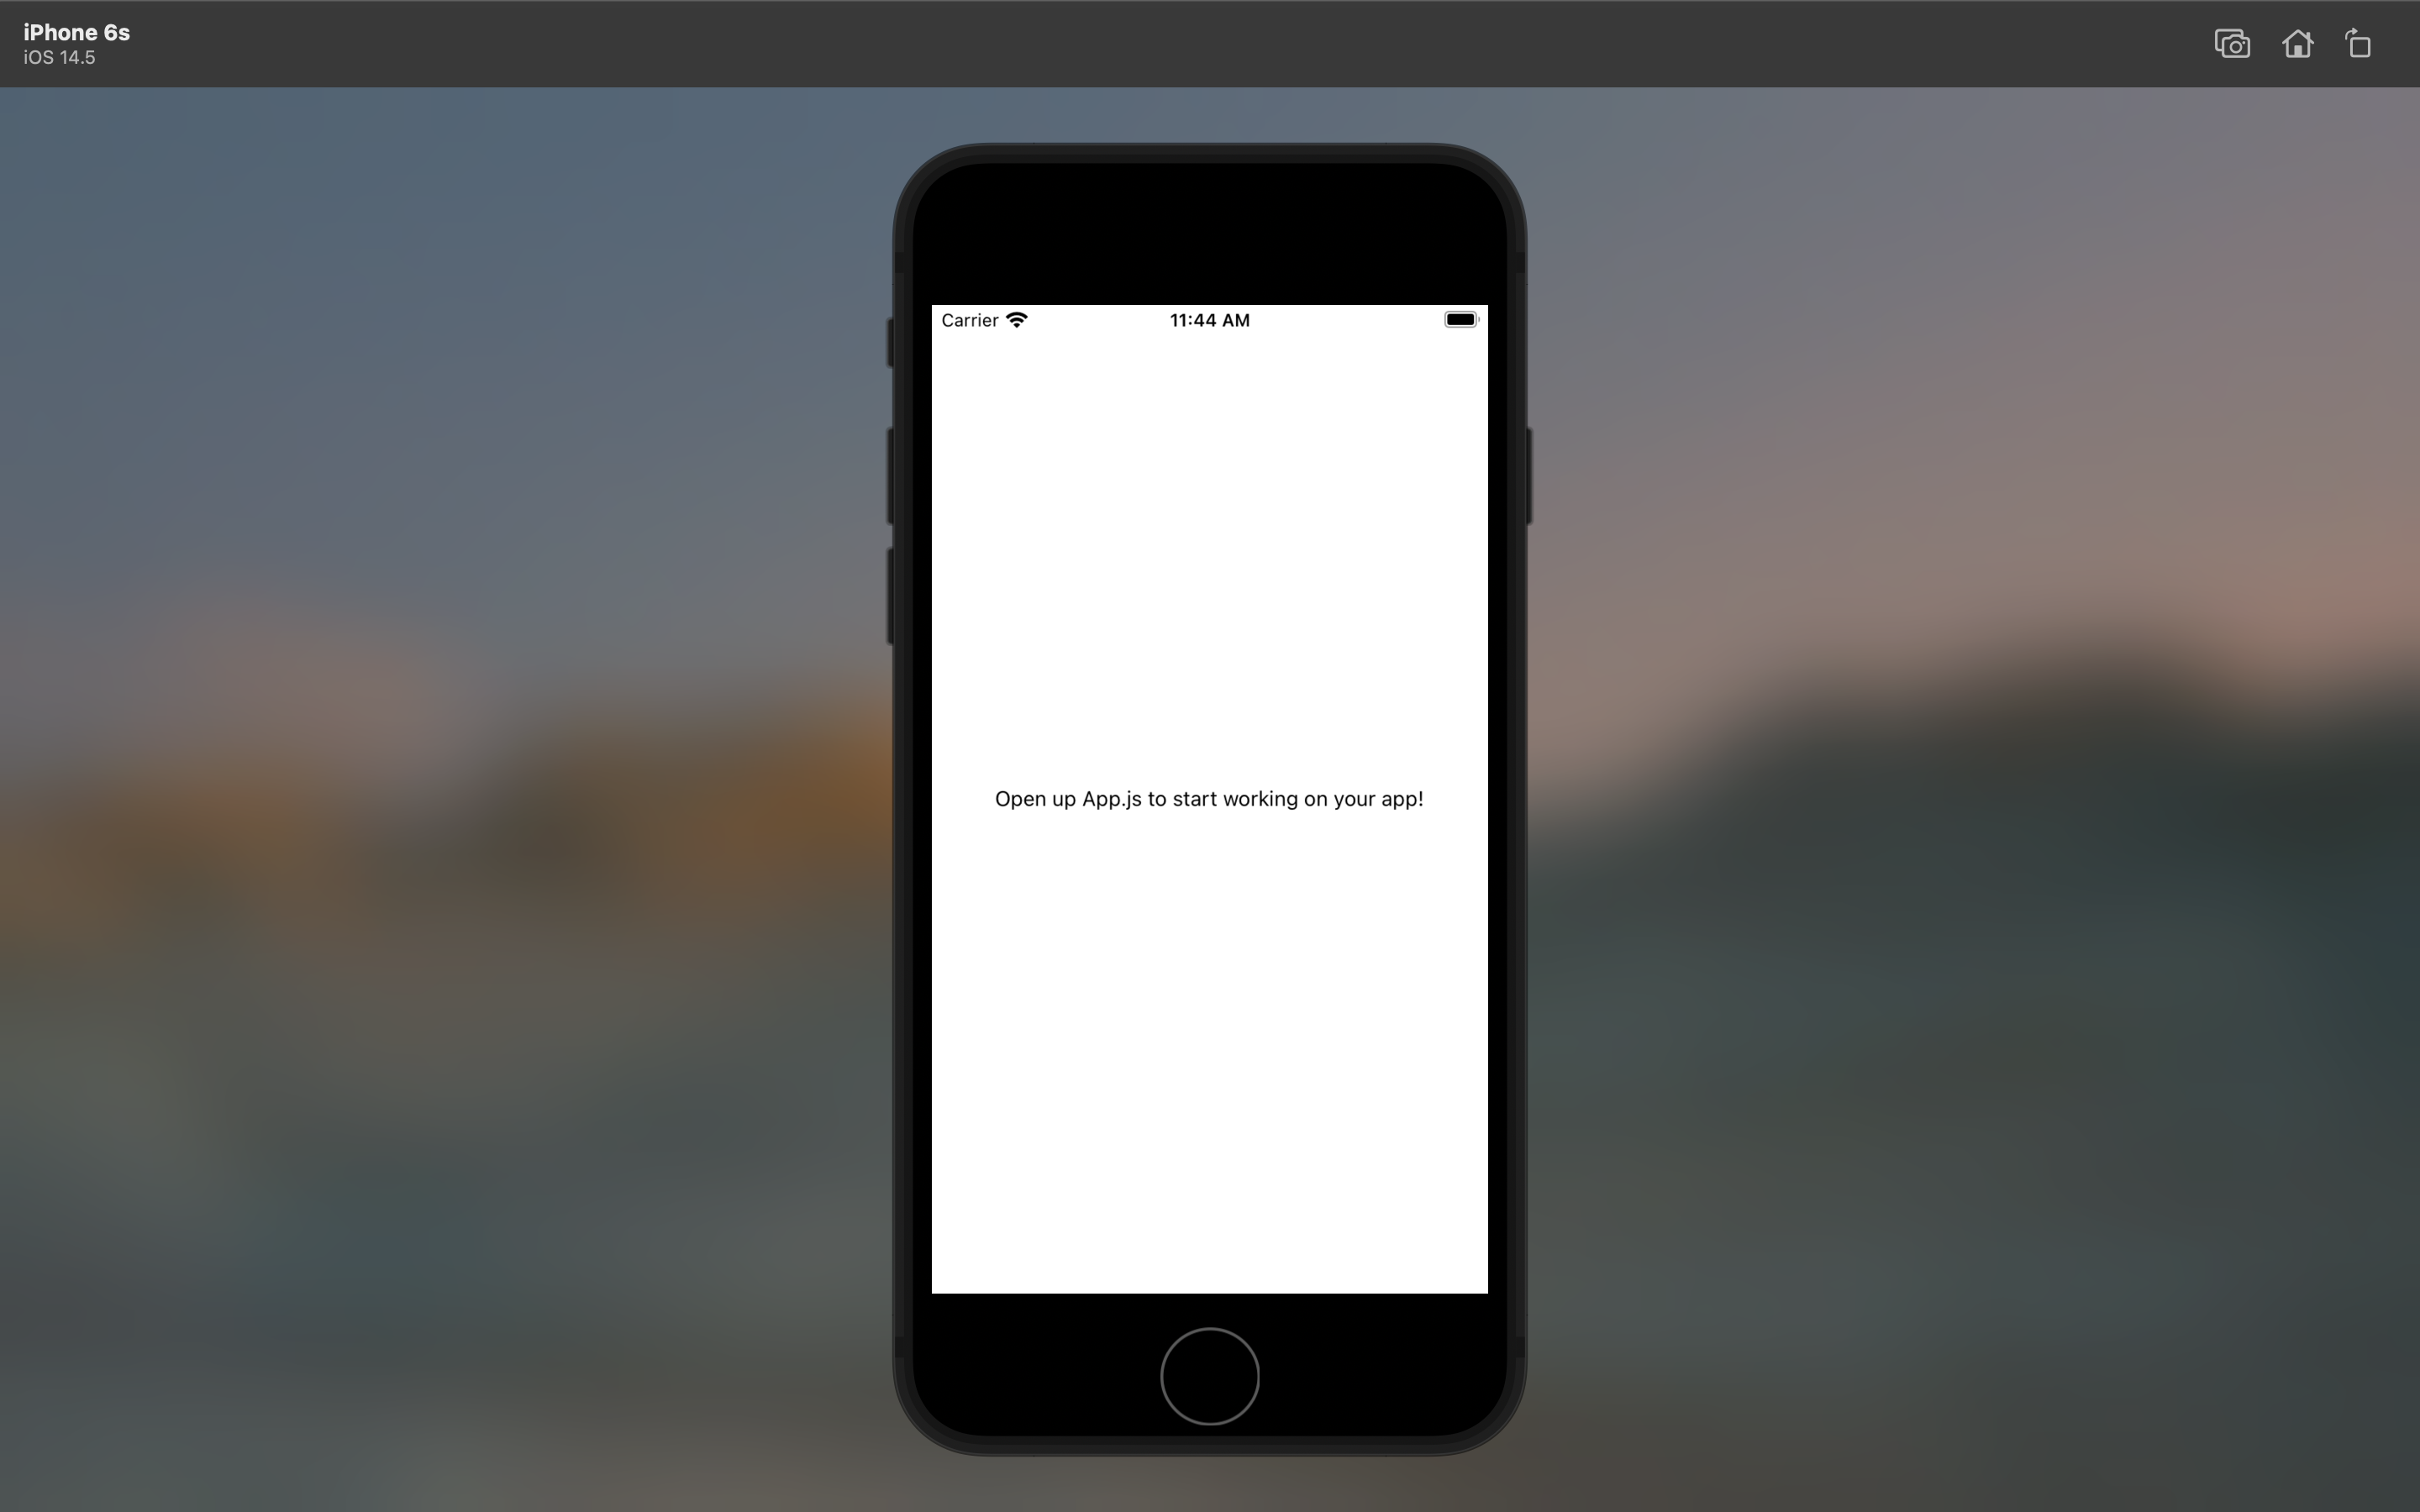
Here is the app running on the iPhone6s
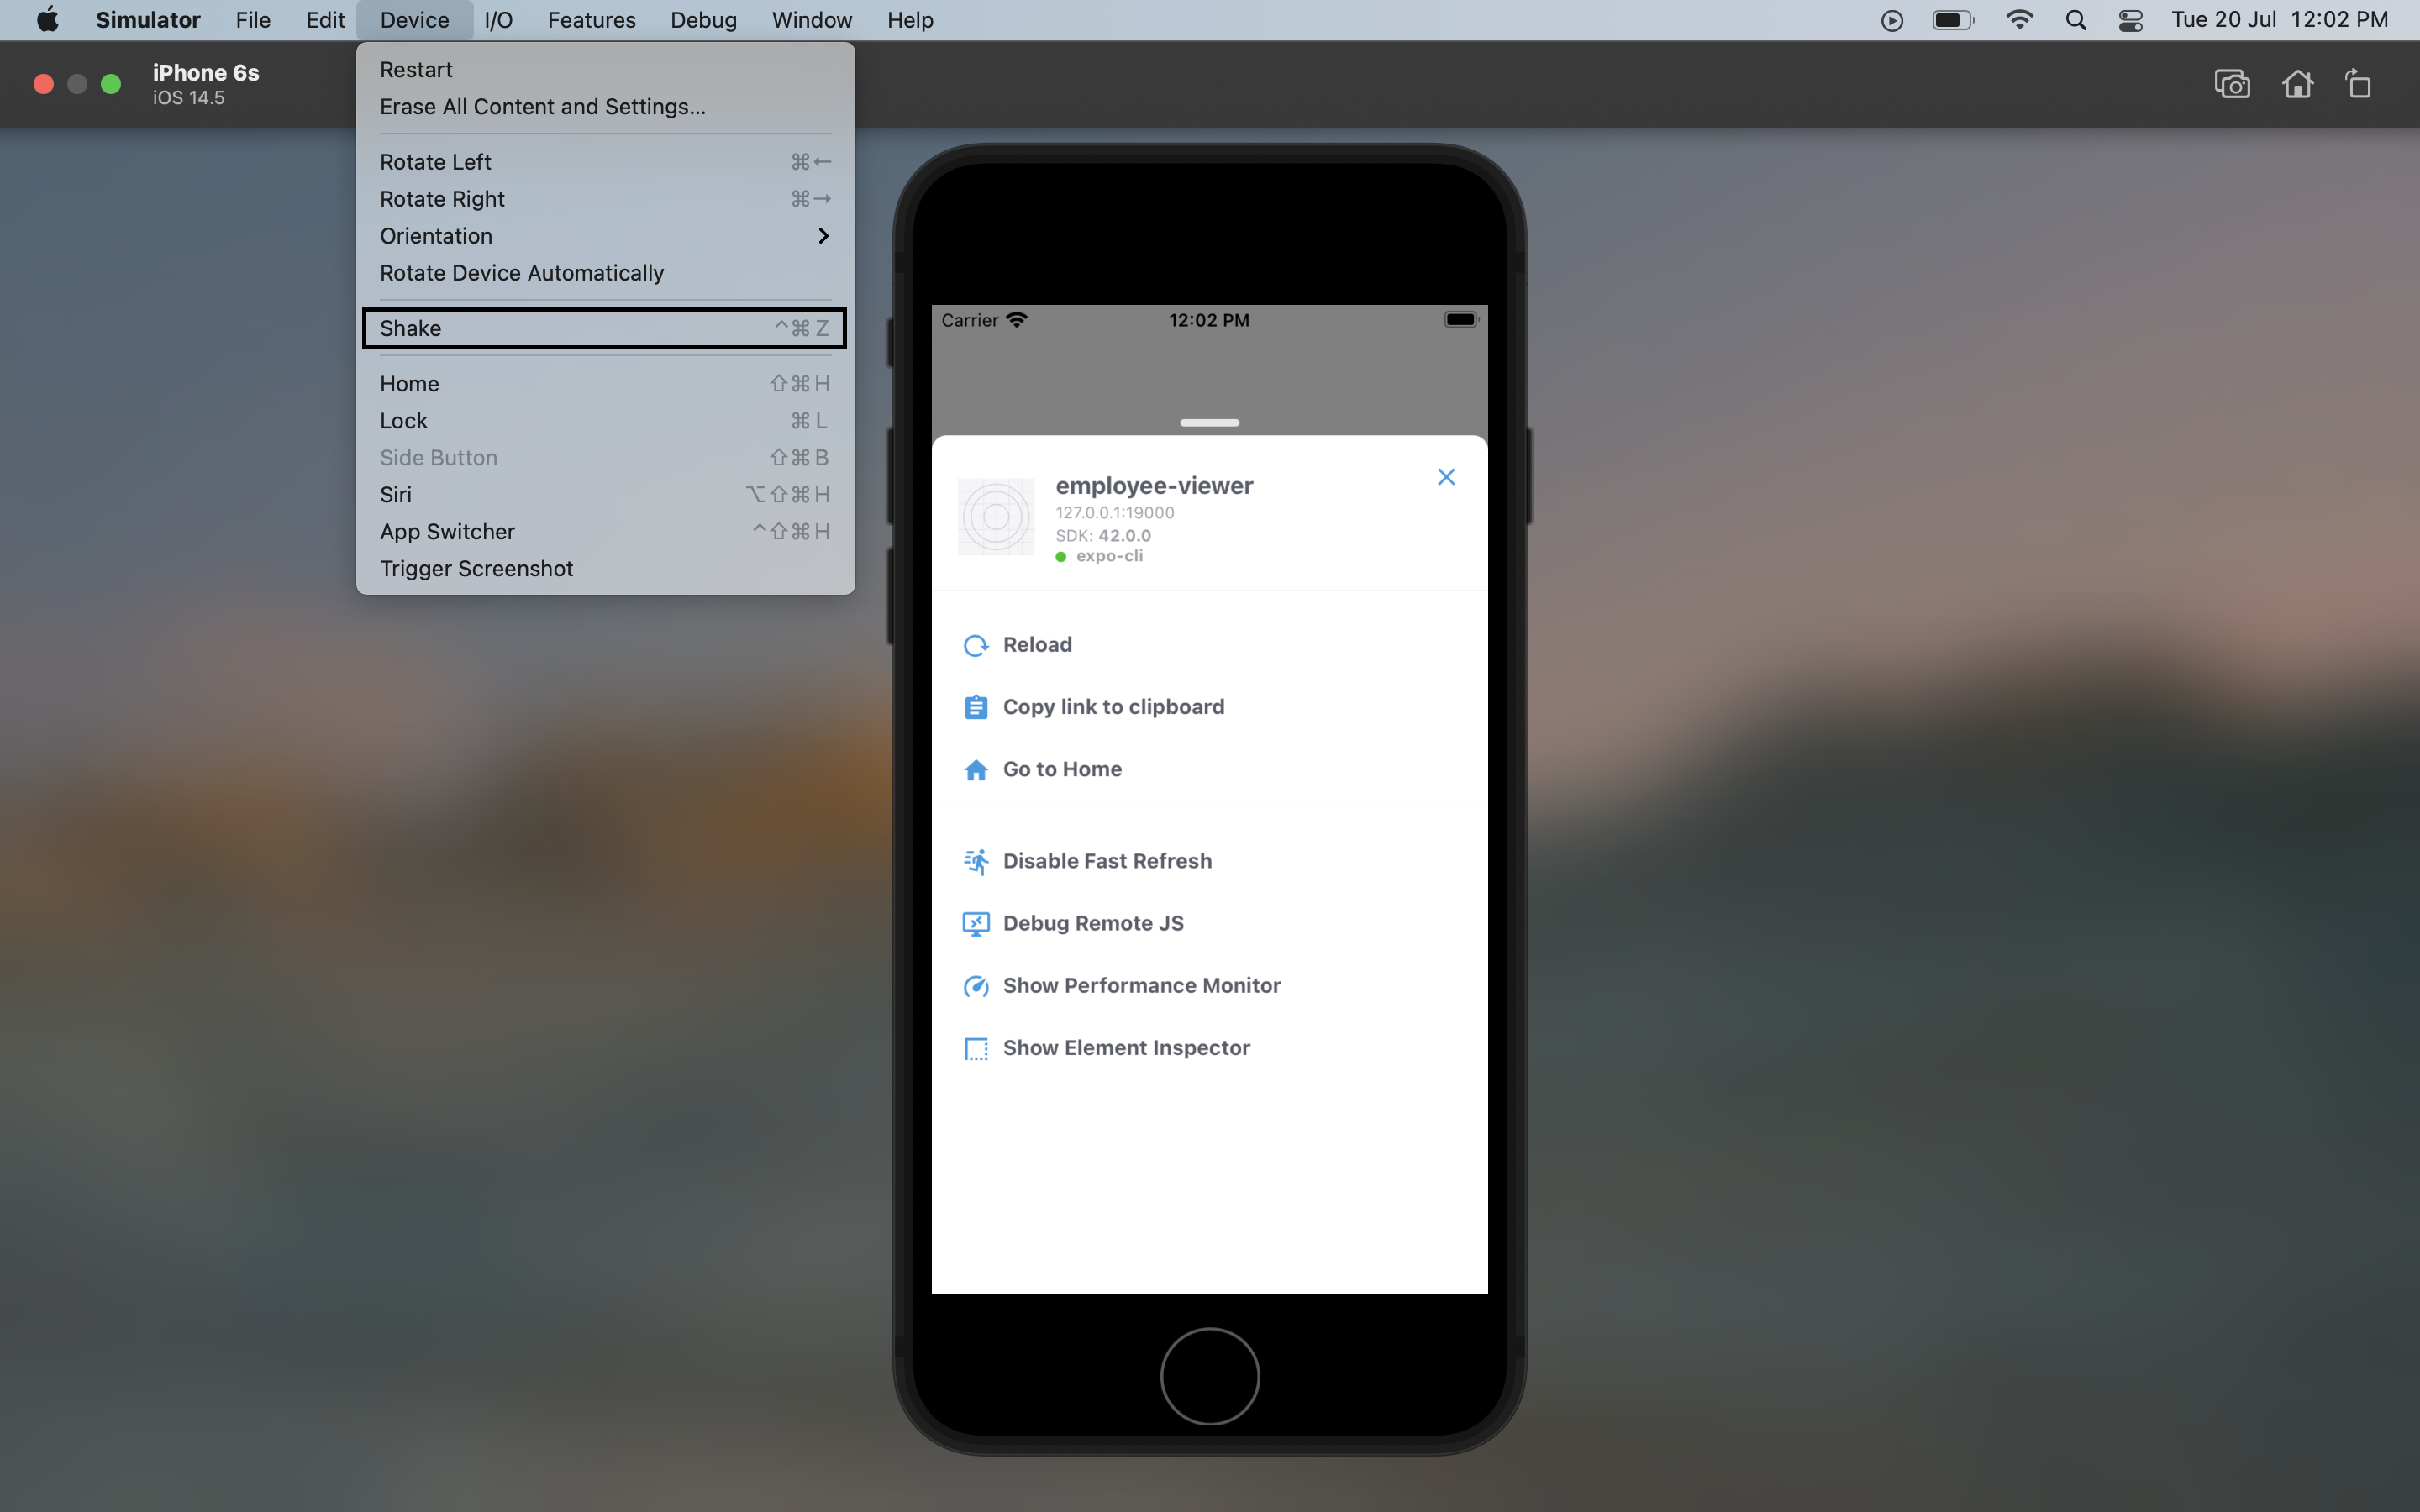
In your terminal you will have many options and one of them would be to toggle menu that one is to show the dev tools in the expo app installed on the iPhone 6s. You can also open the same if you open the menu like below:
Deep dive into code
Open the App.js
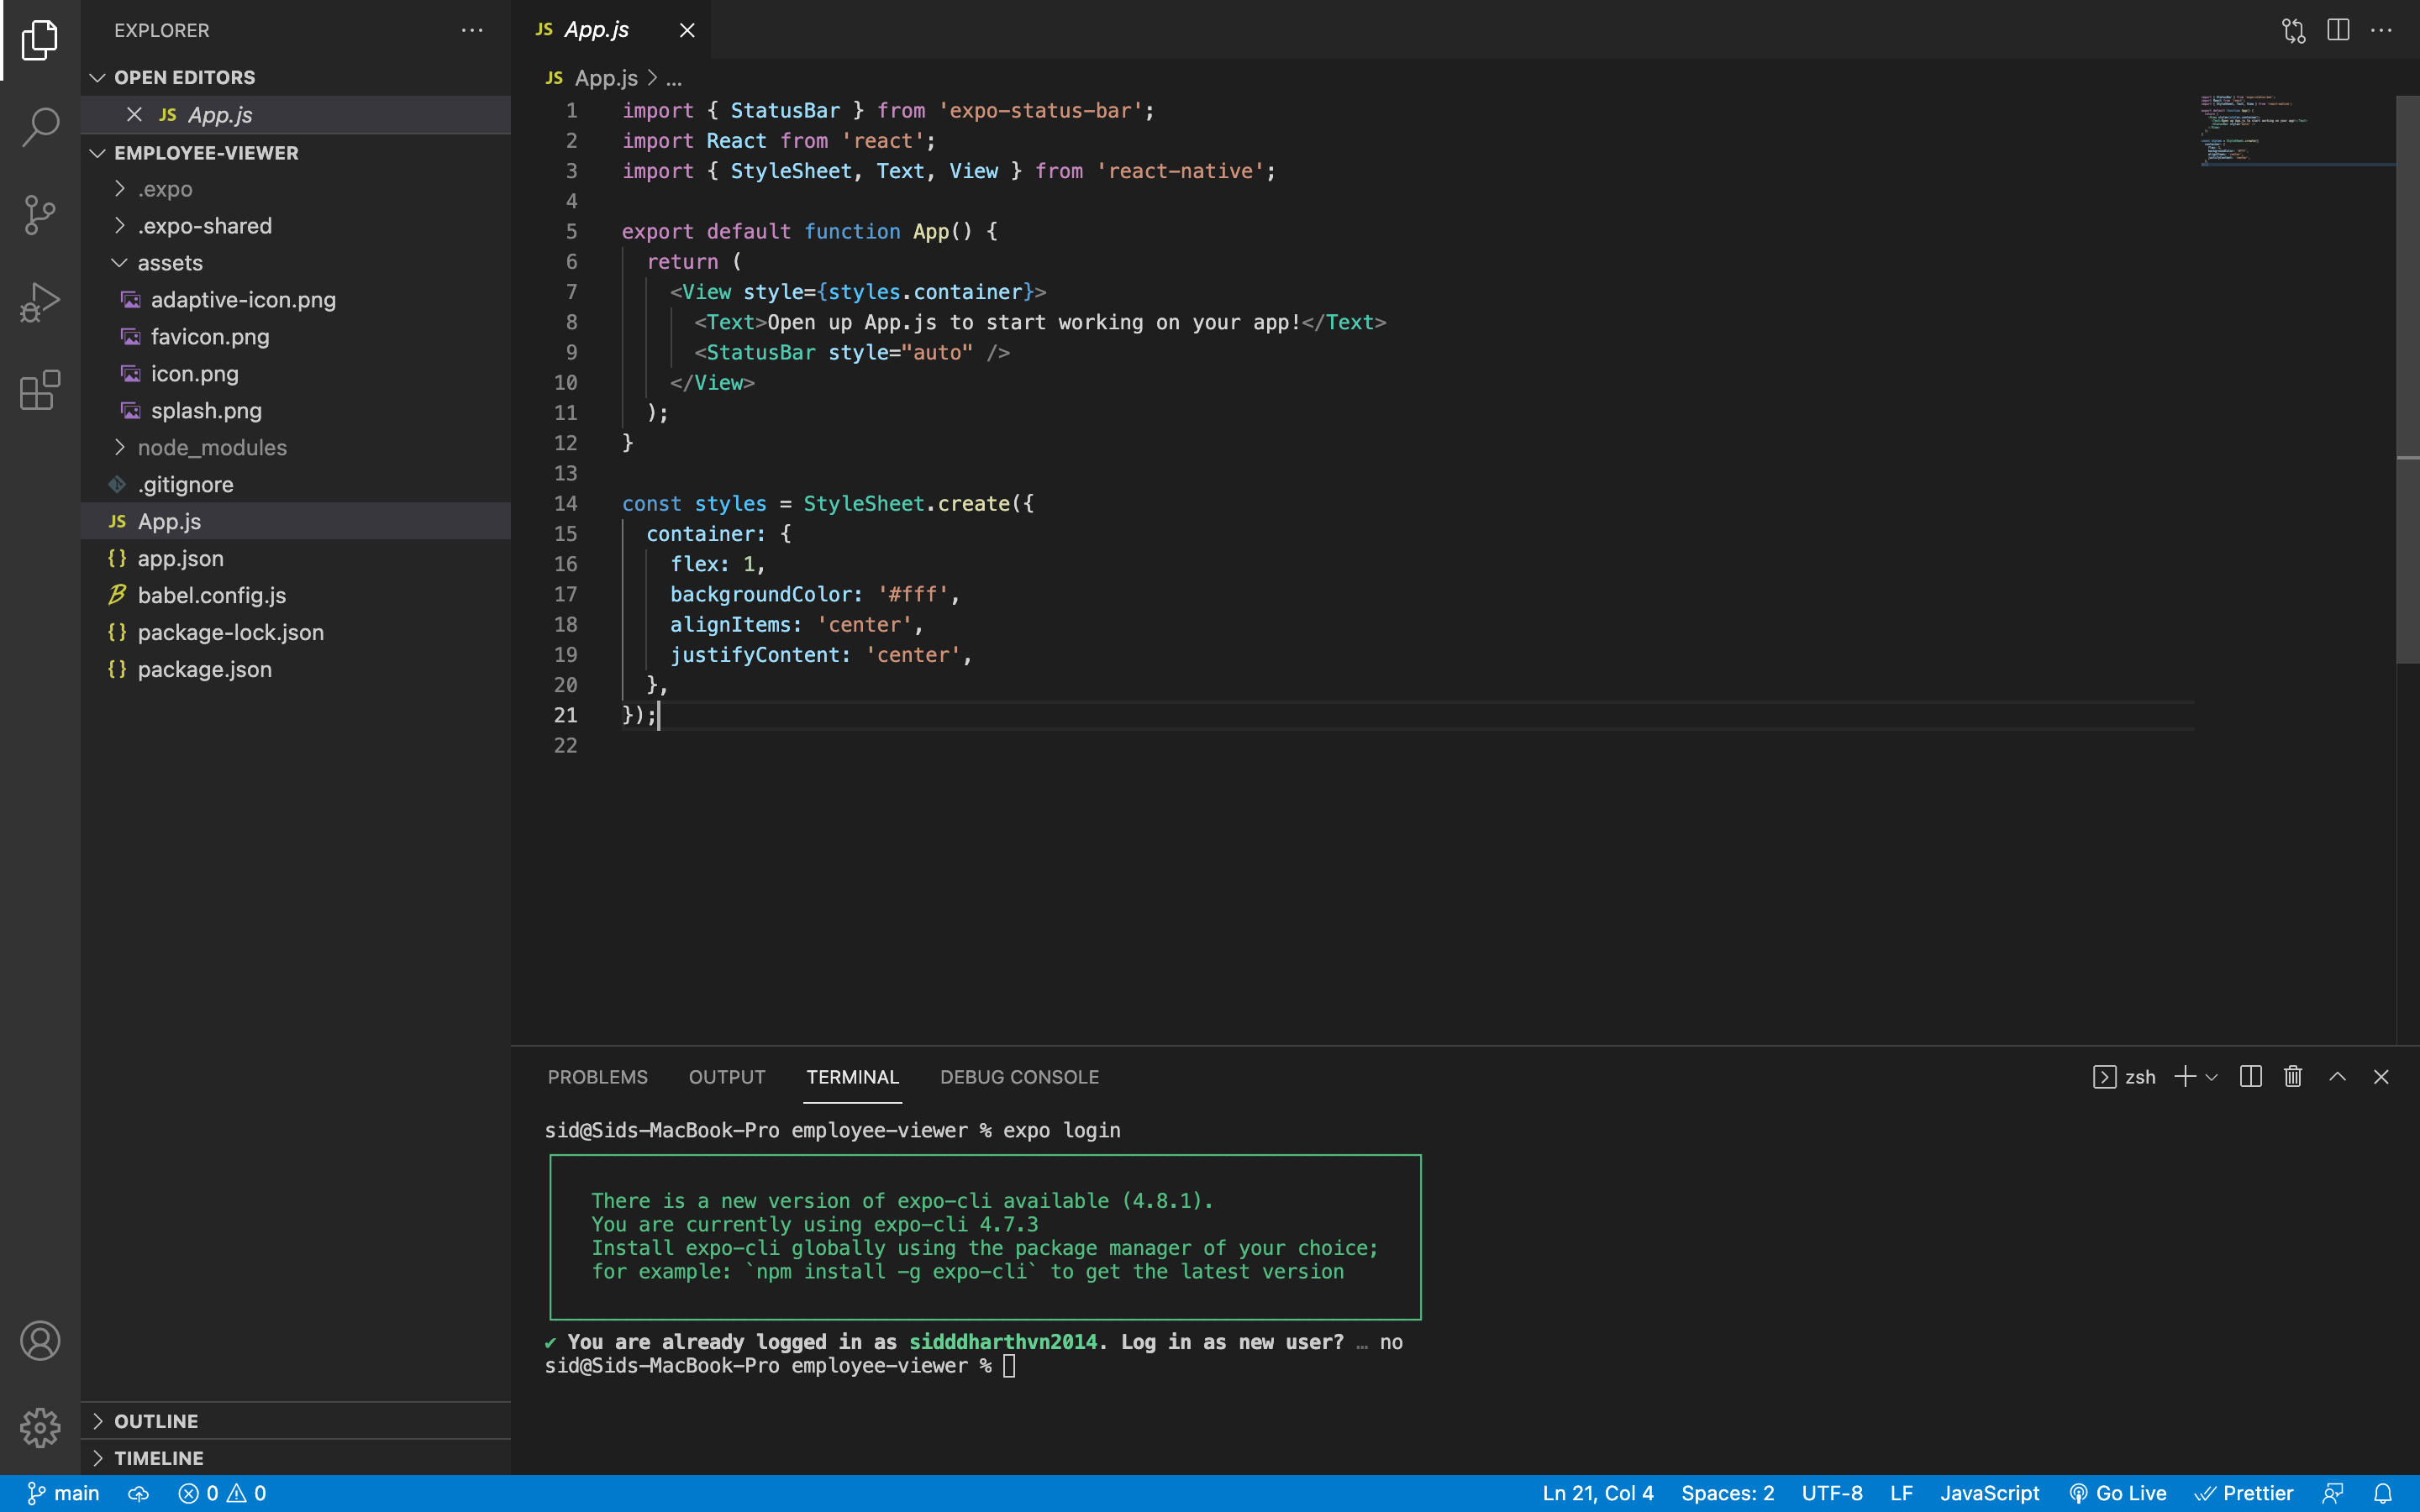
<View style={styles.container}>
      <Text>Open up App.js to start working on your app!</Text>
      <StatusBar style="auto" />
</View>
In this code you can see the View is the main wrapper component of the whole app. If you have some knowledge about Views in Android or Swift.
This is React Native's definition of a View:
The most fundamental component for building a UI, View is a container that supports layout with flexbox, style, some touch handling, and accessibility controls. View maps directly to the native view equivalent on whatever platform React Native is running on, whether that is a UIView,
<div>,android.view, etc.
One major difference between <div> and View is that, a <div> can wrap a text directly for example:
<div>Text</div>
but View can either have no content or definitely needs to have a component inside it. It doesn't allow plain text to be its children.
Therefore in the above main snippet, you see <Text> inside a <View>.
Each of these components always has a style props we can use. The equivalent of adding heading tags in react native is adding a style to the Text component.
<Text style={{fontWeight:"bold", fontSize: 28}}>H2</Text>
Now let us change the code to show a nice bold header in the App. You can edit the code like below:
import { StatusBar } from "expo-status-bar";
import React from "react";
import { StyleSheet, Text, View } from "react-native";

export default function App() {
  return (
    <View style={styles.container}>
      <Text style={{ fontWeight: "bold", fontSize: 28, textAlign: "center" }}>
        Open up App.js to start working on your app!
      </Text>
      <StatusBar style="auto" />
    </View>
  );
}

const styles = StyleSheet.create({
  container: {
    flex: 1,
    backgroundColor: "#fff",
    alignItems: "center",
    justifyContent: "center",
  },
});
Once you change the code you can see the change in your emulator like below:

So if we want to use the same type of heading all over our app we can create into a component. We will do that later in the app when we add custom fonts so that we will be able to add different font families.
If you want to go through the code I have setup a git repo for this project you can take a look at.
https://github.com/sidd-92/employee-viewer-rn
Adding dependencies needed
As I told you before, I am going to use tailwind-rn for styling the app. We can install and configure it so that we can use it across our components.
Install and Configure tailwind-rn
You can read more about it here
Open your terminal in the same project directory and type:
npm install tailwindcss tailwind-rn
Normally you can directly use the default styles that tailwind gives by default in this article we will do some customization to the colors. If you chose to stick with the default tailwind colors, you can skip this part.
Customizing tailwind-rn
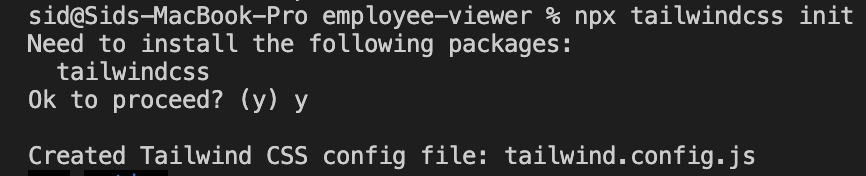
npx tailwindcss init
If you want the full tailwind.js file with all the properties you can use the below command
npx tailwindcss init --full
Once you are set with the tailwind.config.js file. Then you need to execute this step, before we can link the styles into components.
npx create-tailwind-rn
This command will generate a styles.json file, based on your Tailwind configuration. Add this file to your version control system, because it's going to be needed when initializing tailwind-rn.
Once you have completed the above steps you will see a 2 new files created, add these to your version control :
- styles.json
- tailwind.config.js
styles.json Will map the styles from the tailwind.config.js into the styles then from where we could easily use the utilities in RN.
tailwind.config.js We can add our customizations so that we can use those themes in the app.
Note : Everytime you change anything in the
tailwind.config.jsyou need to run thenpx create-tailwind-rncommand so that thestyles.jsonwill have the new values.
For better convenience we will create a tailwind.js file so that we can export the variable and use it globally over our app.
Create a tailwind.js in the root of the directory and then paste the code into that file.
import {create} from 'tailwind-rn';
import styles from './styles.json';

const {tailwind, getColor} = create(styles);
export {tailwind, getColor};
The create() function will take in the styles.json as an argument. The reason it needs the styles.json file is because it will use this file as a map and find the relevant styles to be appended the the styles array.
Once you have the file ready, navigate to App.js and change the file as given:
import { StatusBar } from "expo-status-bar";
import React from "react";
import { Text, View } from "react-native";
import { tailwind } from "./tailwind";

export default function App() {
  return (
    <View
      style={tailwind("flex-1 bg-gray-50 items-center justify-center m-10")}
    >
      <Text style={tailwind("text-center font-bold text-4xl text-red-600")}>
        Title
      </Text>
      <Text style={tailwind("text-center font-thin text-2xl my-10")}>
        Thin Text
      </Text>
      <View
        style={tailwind("bg-red-100 h-10 w-28 items-center justify-center")}
      >
        <Text style={tailwind("text-black text-center")}>Hello</Text>
      </View>
      <StatusBar style="auto" />
    </View>
  );
}
Once you have changed the App.js and re-run expo start you refresh your simulators, you can see the preview like below:
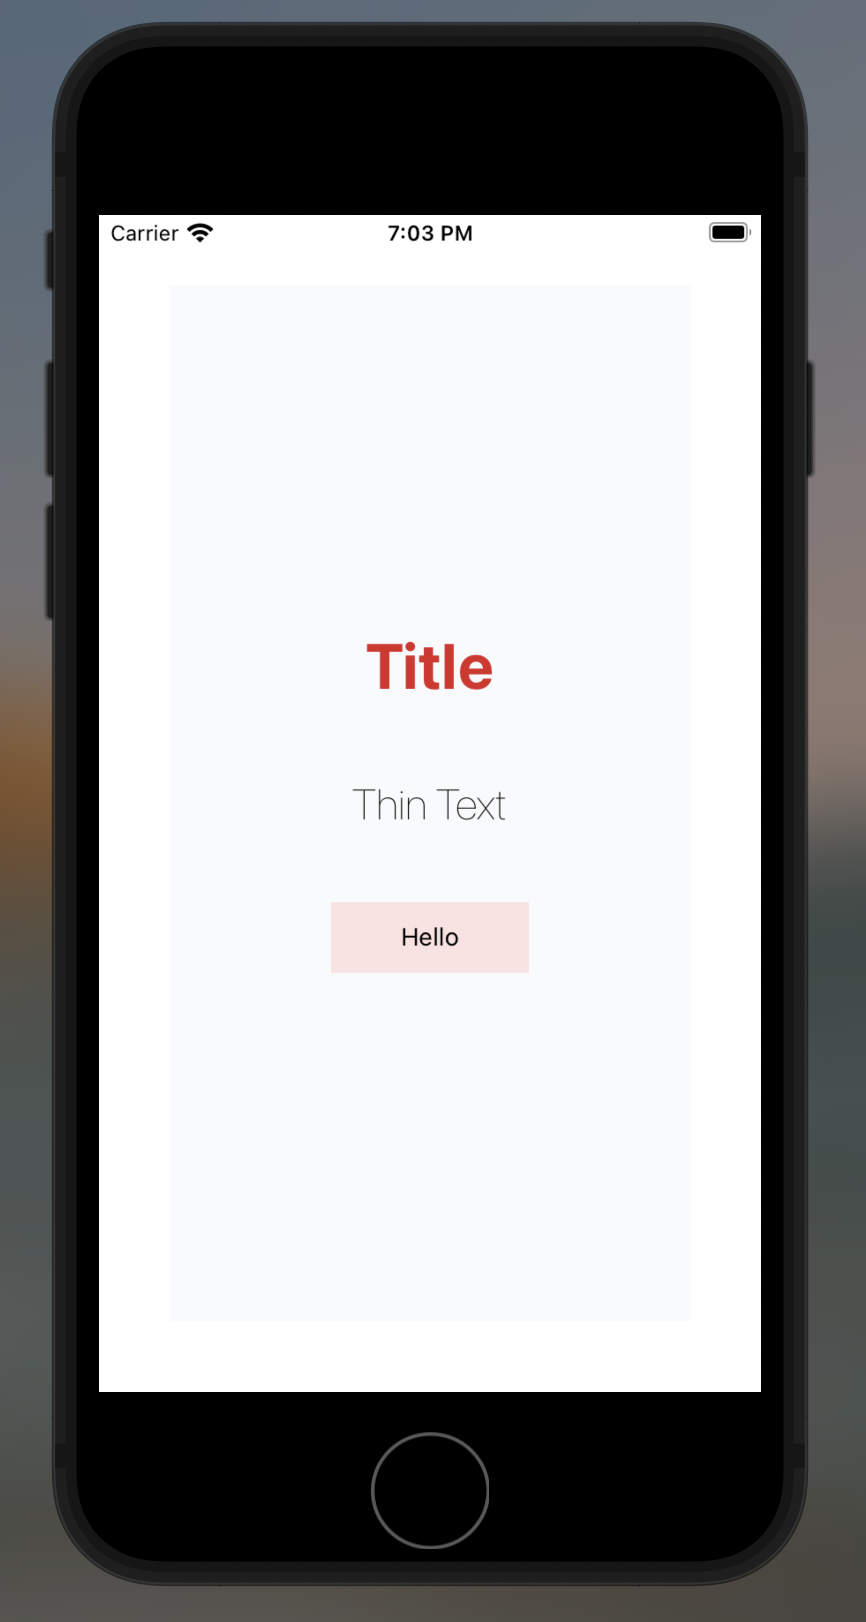
As you see how powerful this becomes, when we will create components. Each style will stay within that component and it will also reduce the number of lines and increase readability.
We can also combine styles like this:
<View style={[ tailwind("bg-red-100 h-10 items-center justify-center"), { width: 200 }]}>
    <Text style={tailwind("text-black text-center")}>Hello</Text>
</View>
This will come in handy when you have a specific width and height for a component but don't want to add it to the tailwind.config.js file as this is not used very much in the App. Also can be used when you may also want to override a color when a state changes.
We will take a look at Navigation in the next part.


